After my somewhat unfortunate experience with water on my Shumard backcountry trip, I reconsidered my hydration options and decided to look into upgrading. Not only the technology/materials of the reservoirs themselves, but also strategy. E.g. is it wise to store critical water in a single point of failure reservoir, or spread it out in several containers? Or is it worthwhile sometimes to pre-cache emergency supplies?
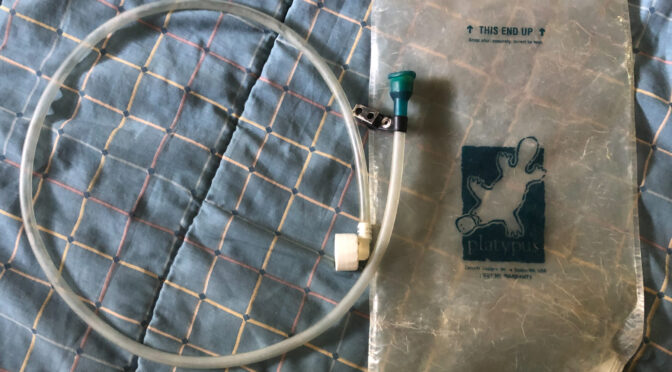
My old Platypus 3 liter reservoir, which had performed admirably for years (including my 2002 John Muir Trail through hike) didn’t seal properly and dumped quite a bit of precious water in my pack. While it was fine technology-wise for ca. 2000, it is a bit unwieldy. 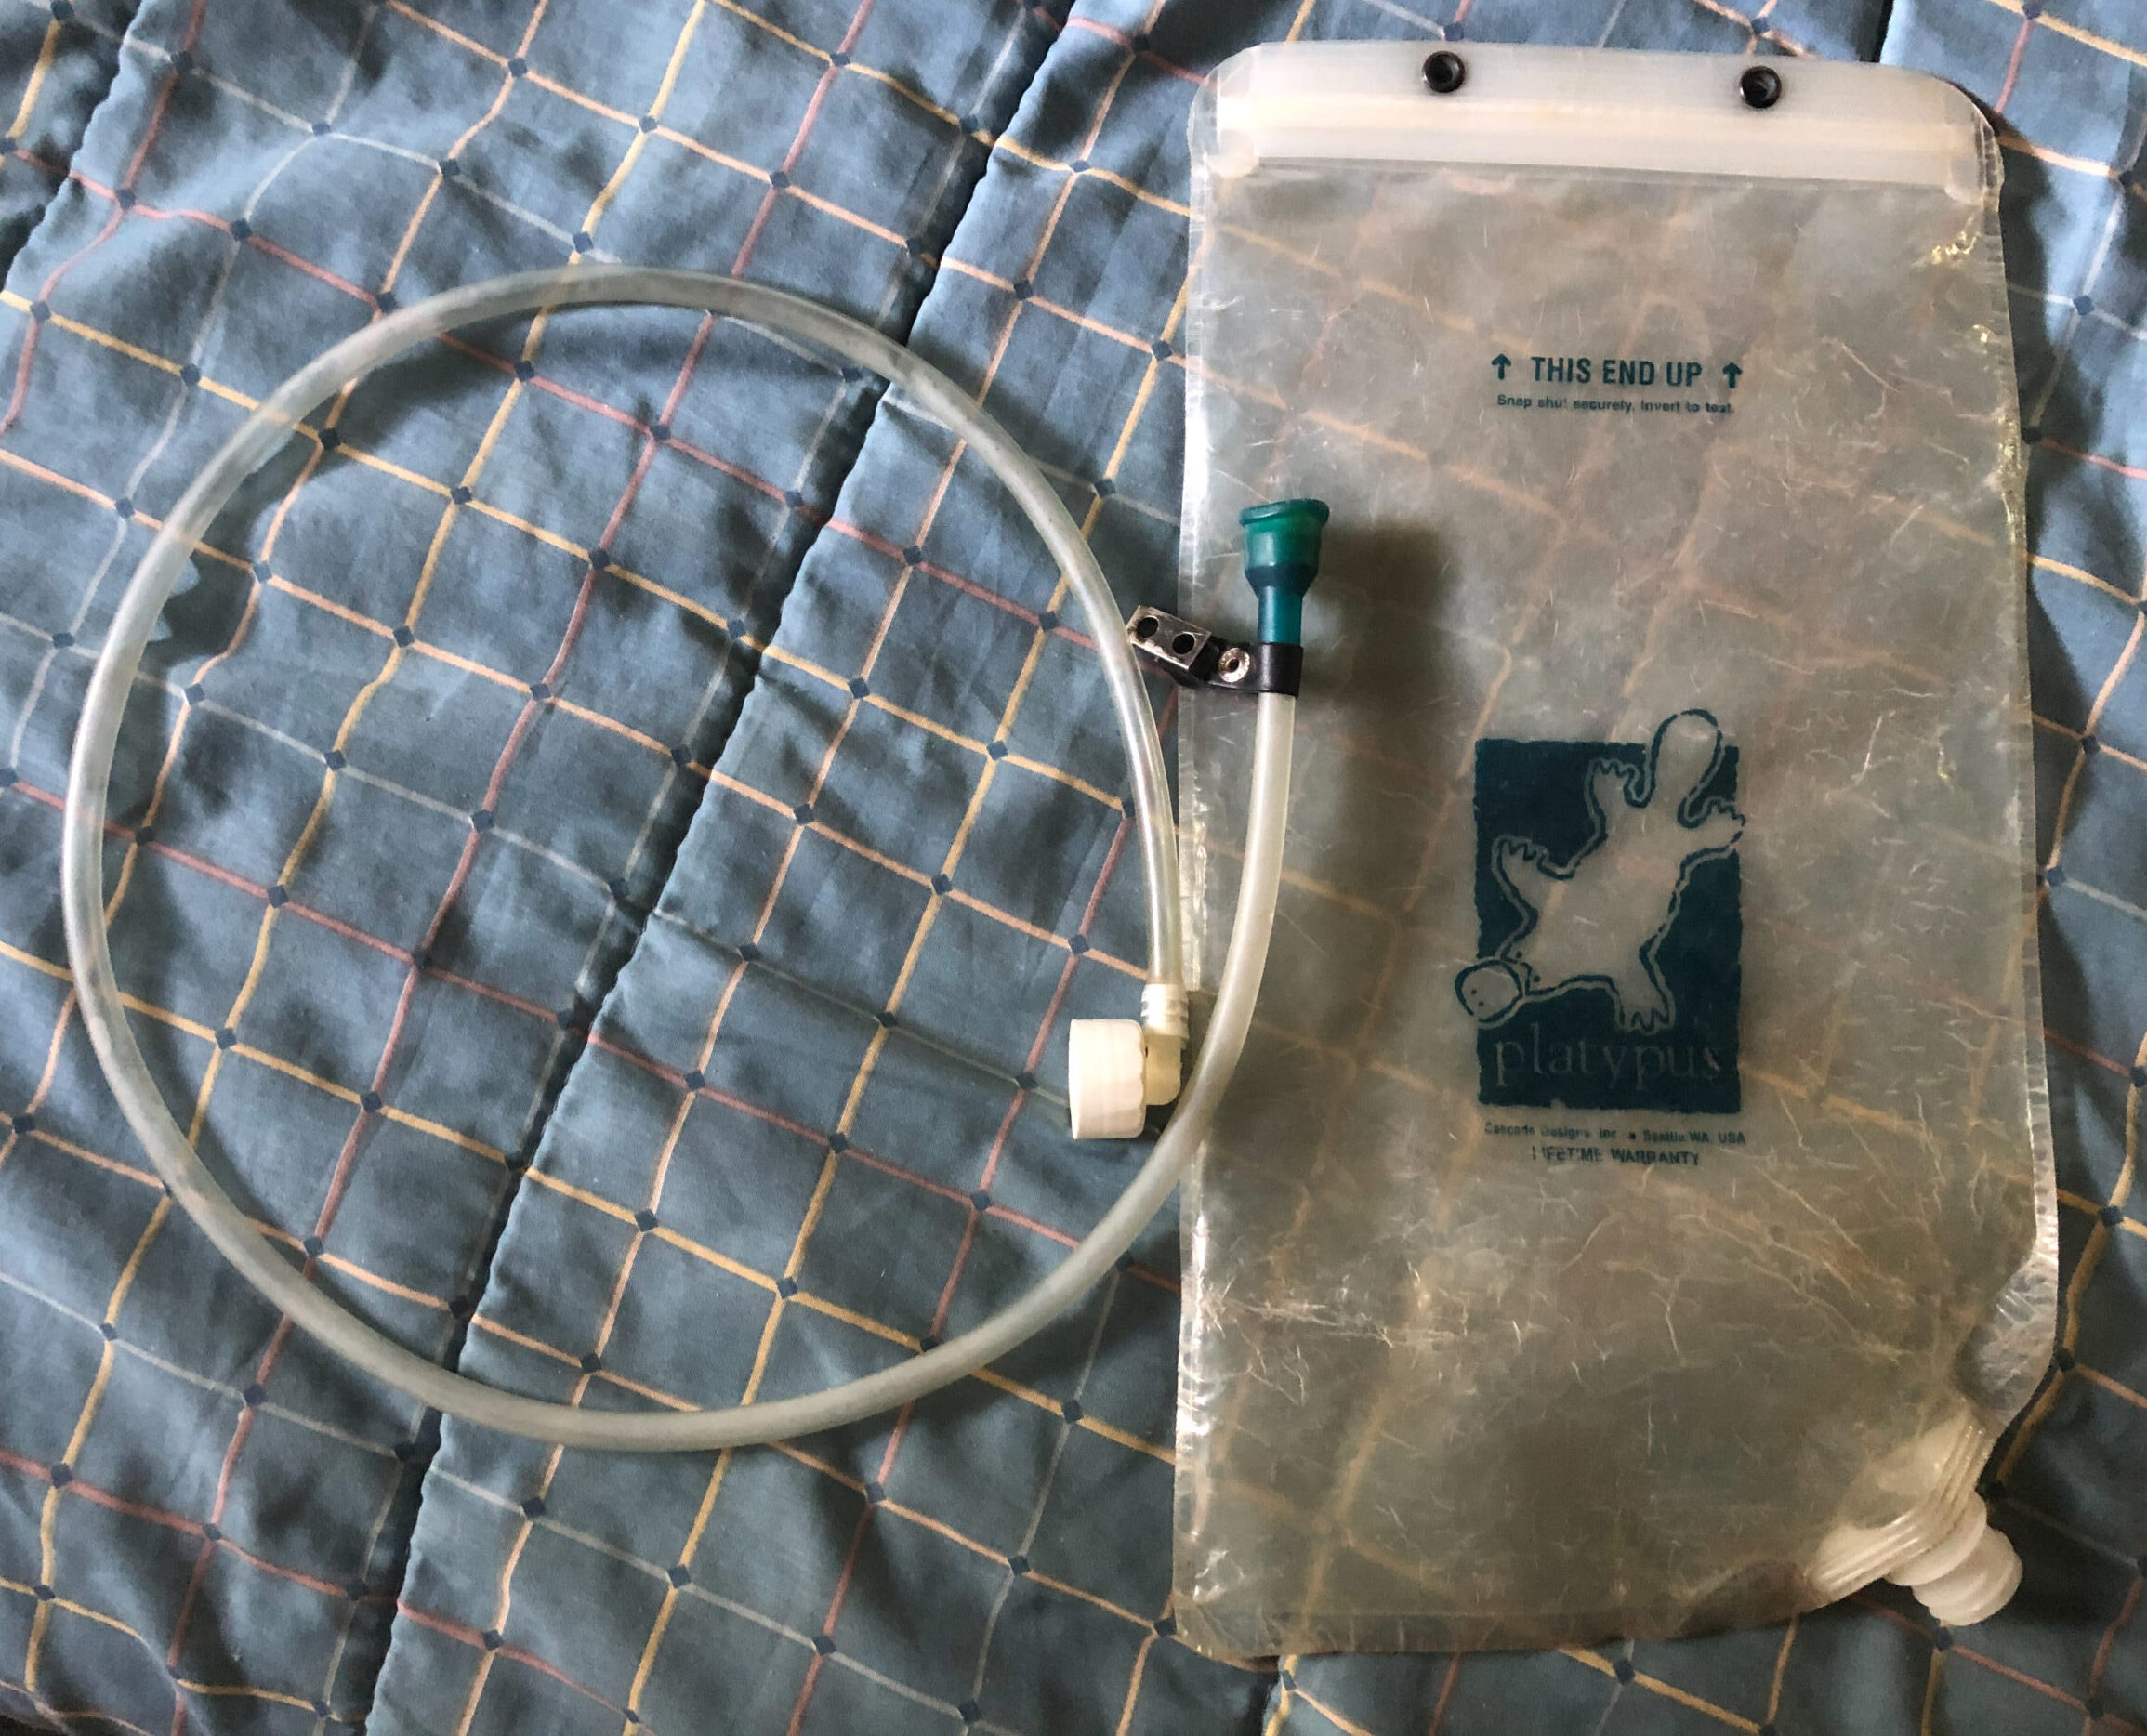
The material is stiff, and the press-together seal can be difficult to manage.
I’ve since acquired two more reservoirs–an MSR 4 liter DromeLite, 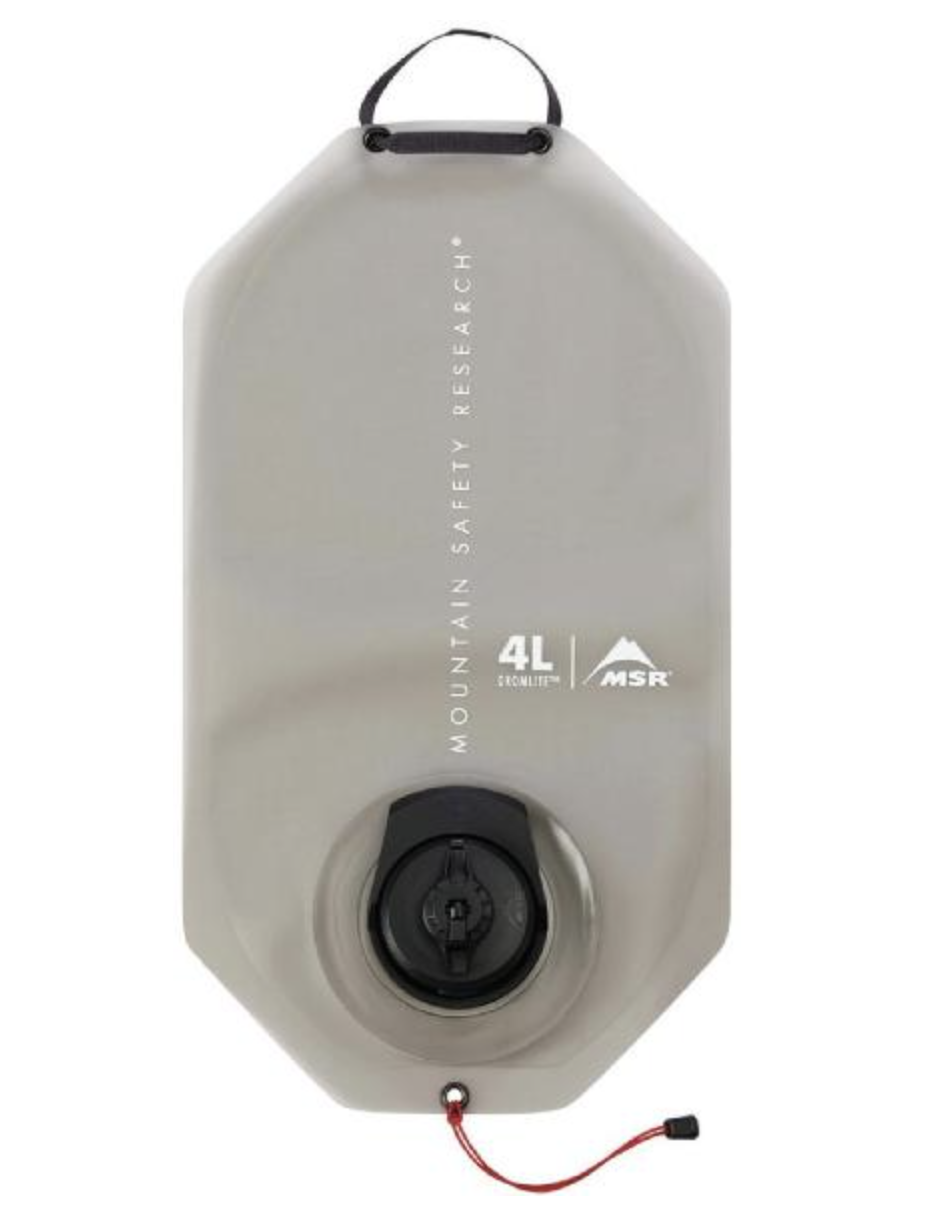
and a Gregory 3D (3L) Hydro Reservoir.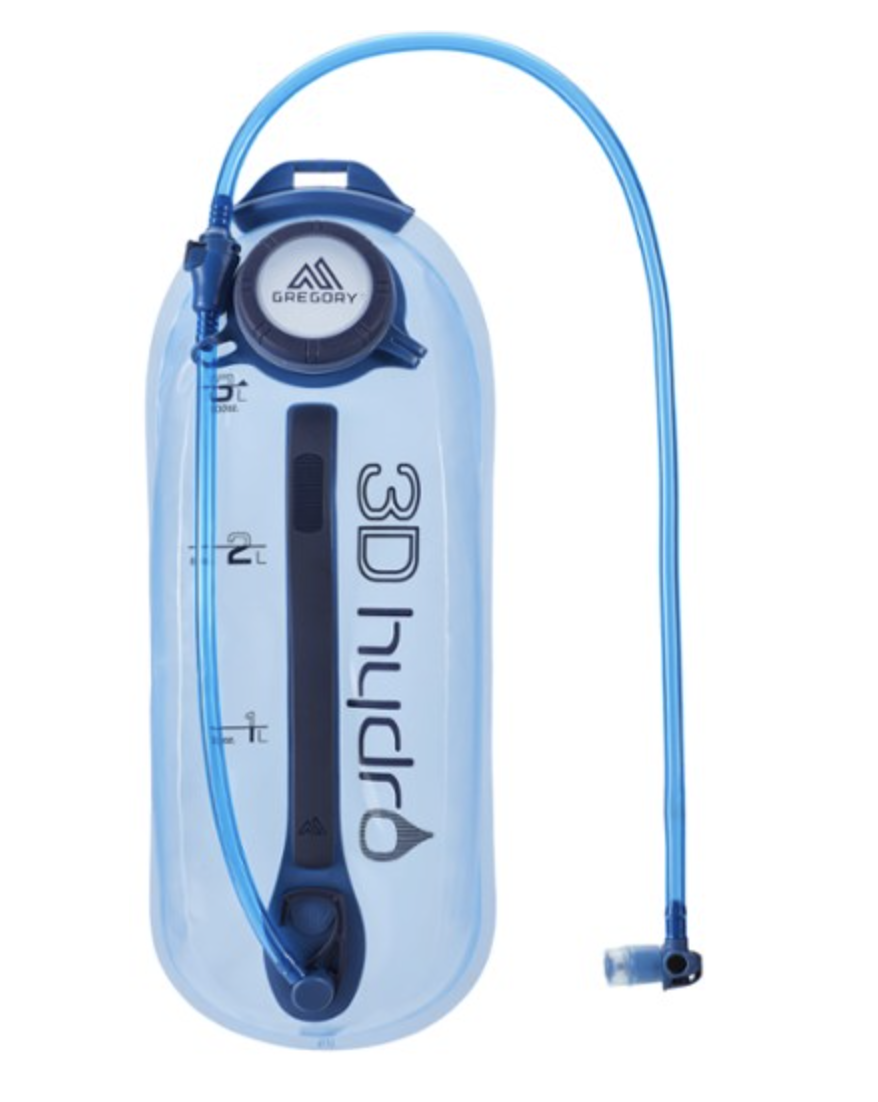
I’ve been using both on conditioning hikes and have a few observations:
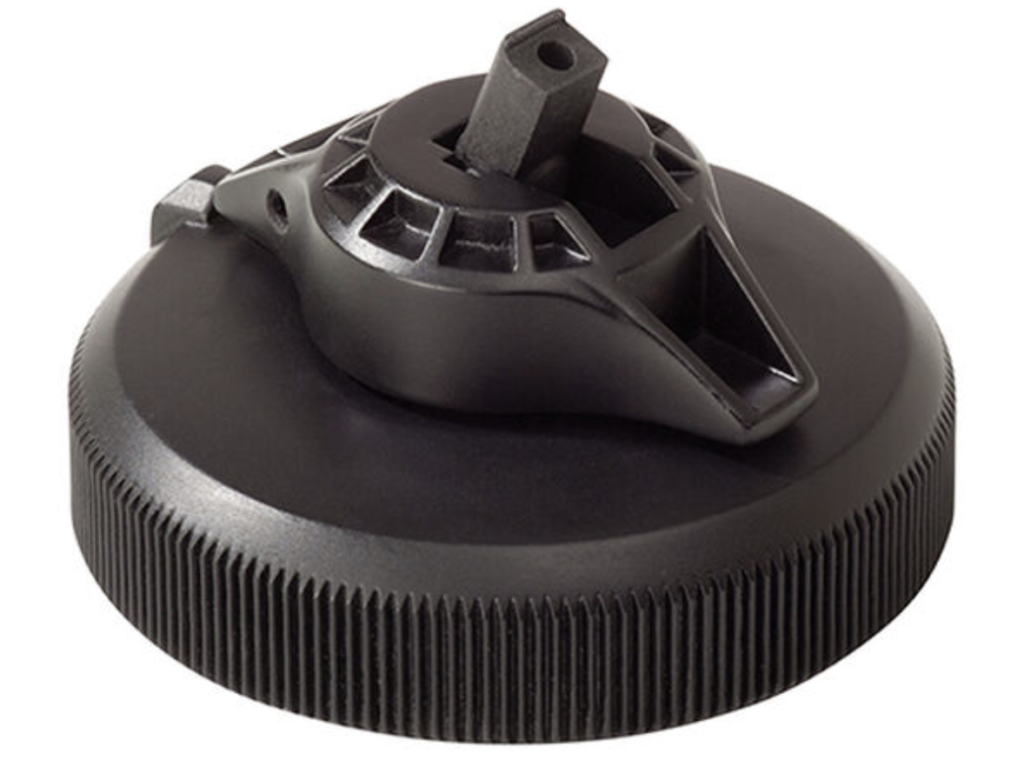
The DromLite seems to have sturdy yet lightweight construction. It doesn’t come with a hose, though; and I had some issues buying the hose for it directly from MSR. (One thing being a bogus $11 shipping fee.) And the 3-in-1 cap is not compatible with the hose; so you can’t use it as both a stand alone reservoir and an in-pack hydration system. To make it worse, I’ve just discovered the 3-in-1 cap leaks, so I can’t use it as a stand alone reservoir. The cap for the hose, too, is somewhat bulky. It protrudes from flush quite a bit, and makes the reservoir somewhat difficult to slide into a hydration sleeve of a backpack.
The Gregory, as is typical of Gregory products, has a lot of features: Some might say “overengineered.”
The hose separates at the bag, “quick connect” allowing for easier refill without unthreading the hose. The bag has an internal baffle to help “by positioning the water flat against your back for optimal stability and comfort.” Also it’s supposed to help it dry without grunge by keeping the sides apart. It also has a neat swivel hanger for drying or otherwise hanging. The “DryLock Magnetic Bite Valve” has a handy magnetic attachment (I put it on my sternum strap.)
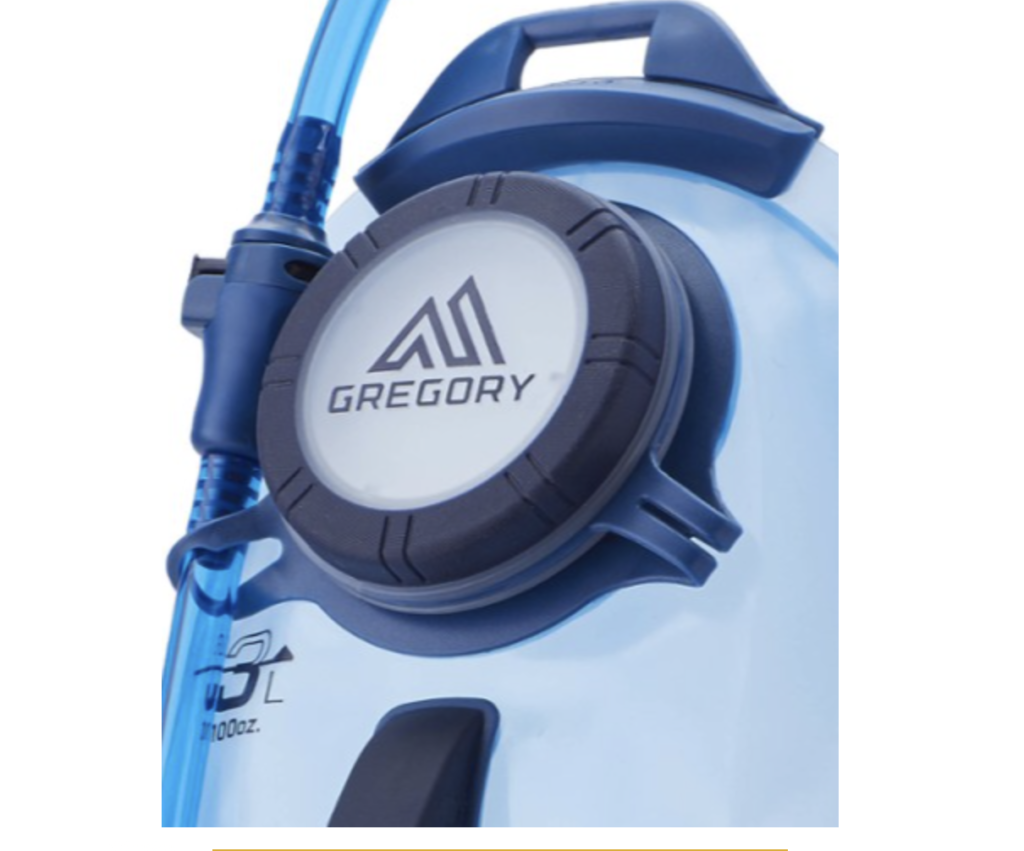
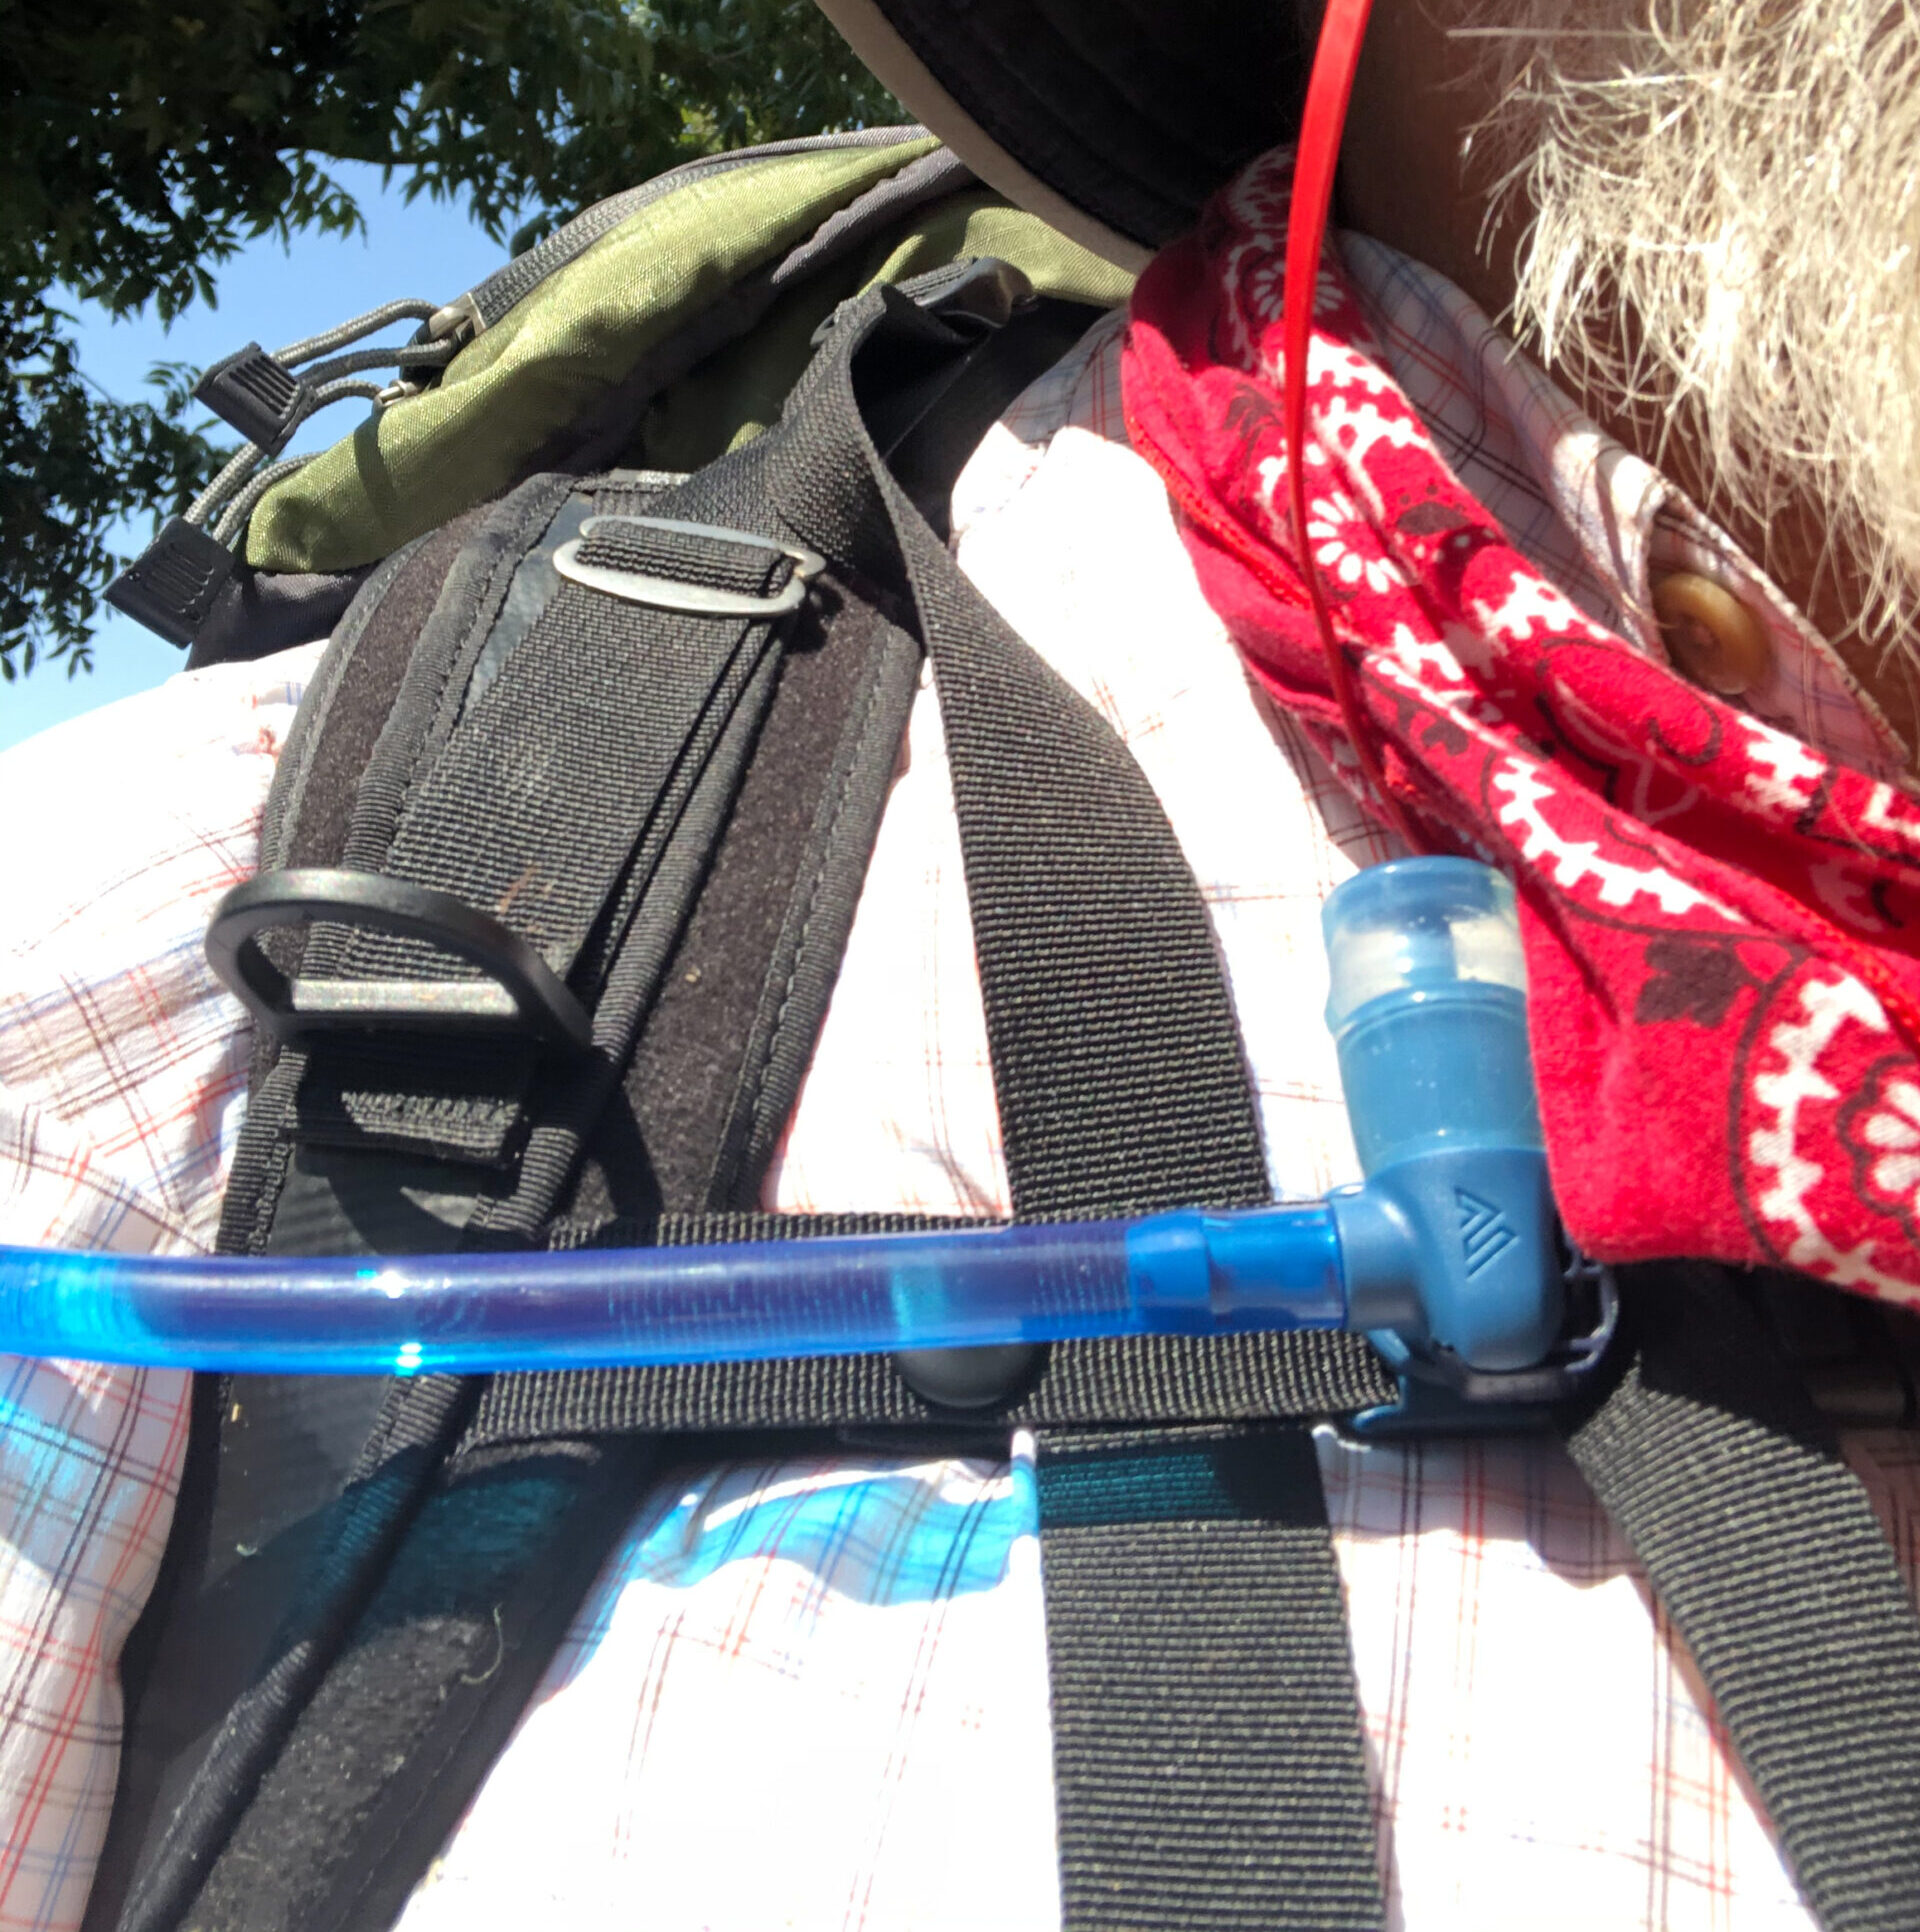
A couple of things about the Gregory: The hose is aligned on the left side, and I suspect most packs, like mine, expect the hose to emerge from the right side. This leaves almost no slack for the hose to be attached on your chest. As far as I know, it can’t be switched to the other side. Also, I’ve found the bite-valve lock a bit difficult to use at times. Maybe I’m just not used to it. But overall I do like the Gregory and trust it for backcountry use.
Bottom line: The Gregory is now my go-to as far as large hydration systems for my backpack.